experiences
In this section I will share some of my thoughts and experience about photography like lenses, films, processing etc.
I will try to complete this page regularly by writing down what I have already in my mind but not yet had the time to write it down or about future experiences and discoveries.
If you want to be updated time by time about new posts here you may leave me a message with your e-mail here.
I am curious about your thoughts, so you are most welcome to share them with me. Unfortunately I do not yet have a blog section on this website as it is still under construction. But if you want to share some of your experience I am pleased to add this on this site as a guest article.
I consider my thoughts and conclusions as one point of view among so many.
Photography is a creative process and the result and the tools and processes one uses to achieve his goals vary from one person to another. Nevertheless there is probably a frame within which most of professional and non professional photographers agree about what defines a good picture and thus what is a a good tool and process to get to this good picture. At the end each tool has to comply with the skills and the goal the working person.
At this moment I just have to think about the probably most simple tool that everybody knows: a hammer. Many years ago I was interested in silver smithing. And only for this profession there exist some dozens of hammer variations. You don't need all of them to forge your masterpiece. But depending on your anvil, your hands and your base material there will be more or less suitable hammer shapes.
I think it is the same about photographic material and processes.
So sometimes it is interesting to read about other's experiences and use them as a source of inspiration for the own work.
But now enough of introductions... read more below.
(Please keep in mind that the maximum horizontal resolution is reduced to 1920 pixels; until now I have not yet found the option to upload pictures in full size... maybe later.)
Kodak Vision
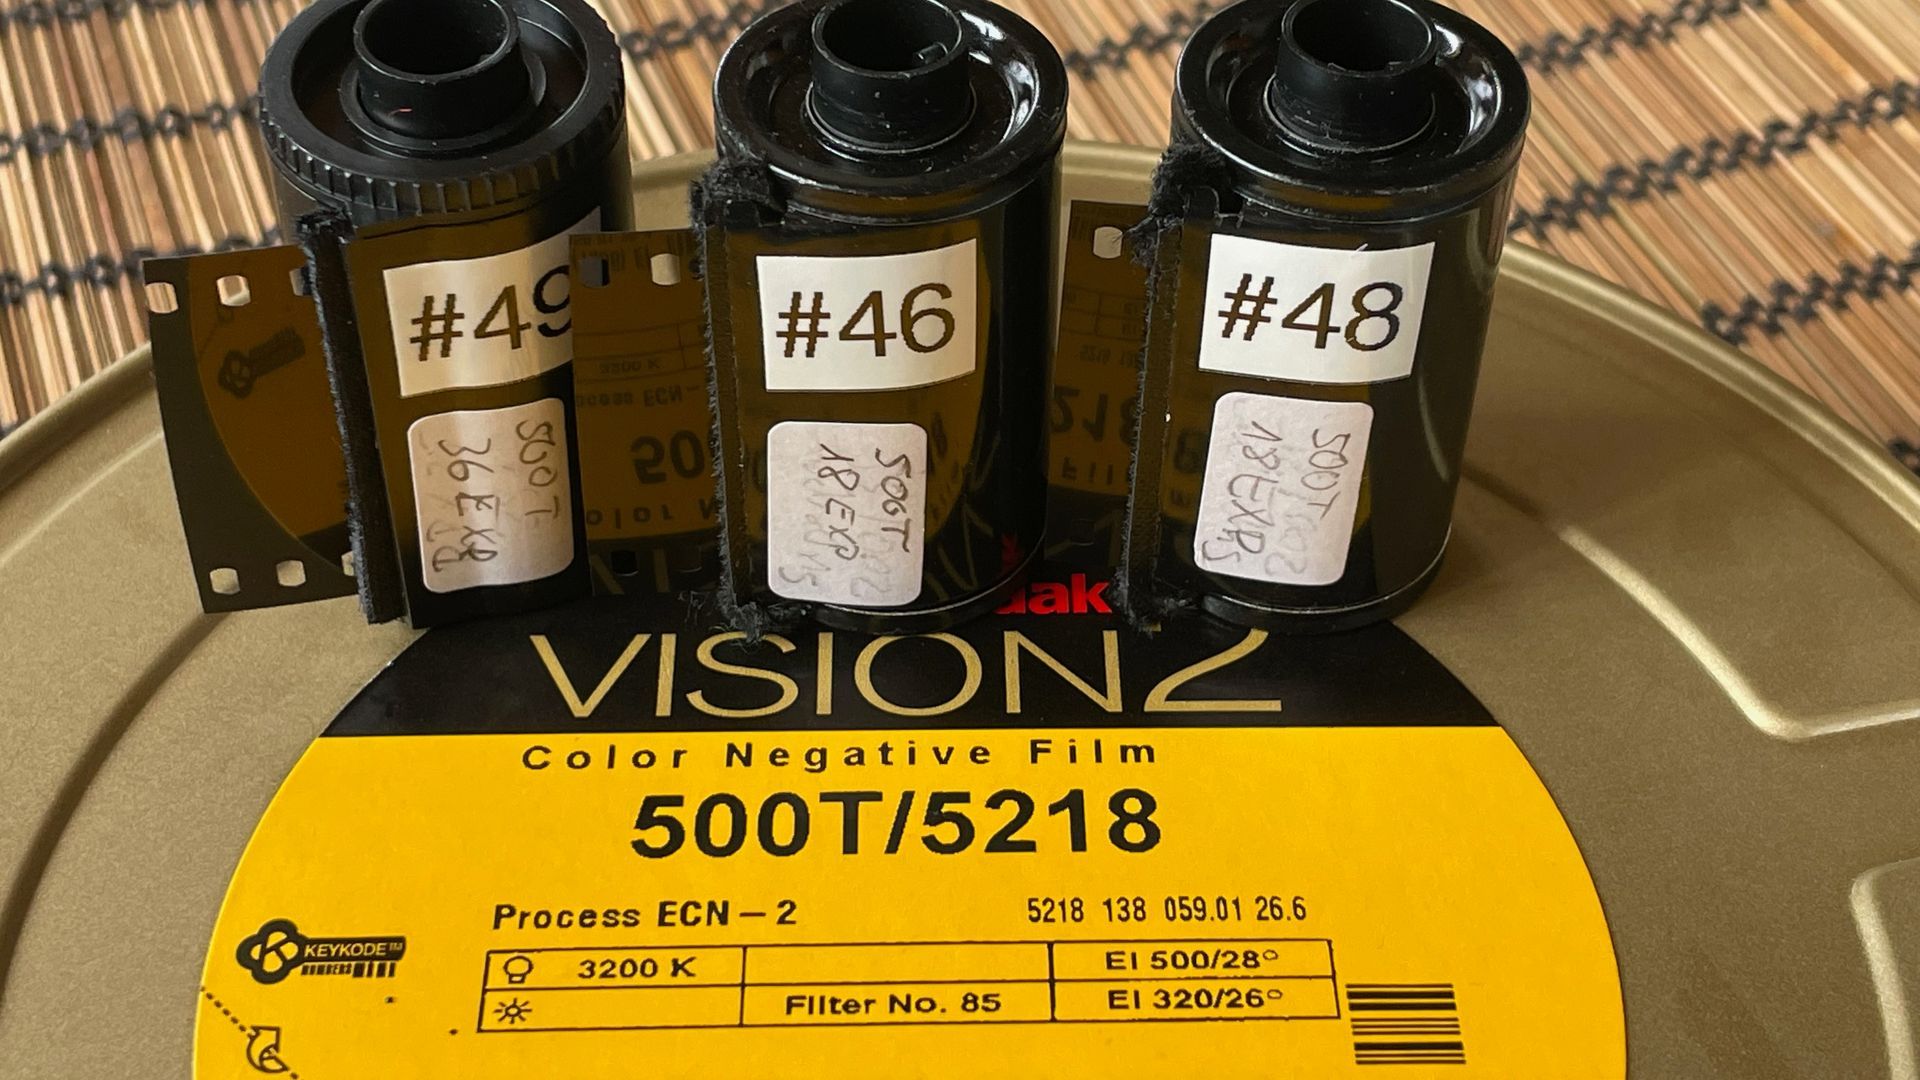
After my journey back to the (cinematic) roots (of 35mm film) with Kodak Double X I began to rethink my B&W = film & Colour = digital strategy… I realised that on classical film photos I spend less time on post processing once the picture is scanned than on digital RAW files. This makes sense in the way that by using the analogue medium I have more character and less technical picture quality in the scanned file.
The choice of film is a conscient one, giving the character to the final image already halfway of the entire process: film type and development define a frame and direction to the possible results of digital post-processing.
My choice of colour negative lead me directly to Kodak. And as I had banned Kodak retail products from my shopping list due to miserable or non existing customer service from the side of Sino Promise (who is the licensee for Kodak Professional paper and chemical products; AFAIK Kodak films are licensed by Kodak Alaris and I cannot say anything - neither negative or positive - about their customer service’s quality), I decided to go directly to Kodak Vision and to support this company as directly as possible.
My former experience with Cinestill products was mixed: Orange dots in my scans (= black dots on the negative) are maybe remaining remjet particles that occurred only on Cinestill films that had been developed as well by home processing and C-41 lab processing. Furthermore on the Cinestill 800 I disliked the red halos around highlights that are probably the result of the missing remjet, creating more reflection in the film.
So the first step was to get used to the remjet … rather to get used to its removal as this is the only significant difference with traditional colour negative films.
I contacted a guy who respools Kodak Vision from 400ft to 100ft rolls and asked him if he could send me some film ends fully exposed, just for getting a fist idea of the remjet’s behaviour.
With these strips and the remjet remover prepared corresponding to original Kodak recipe PB-2 I began to see how the remjet can be removed from the film.
My fist development attempts with an expired Vision2 500T (so expired that it has to be exposed between 50 and 100 ASA) were a good starting point. I shot the film with red correction filters at daylight and in dim light (before knowing it has to be exposed around 80 ASA). Color and exposure results were far away from perfect but at least the remjet removal worked well.
Then I I tried my first development of a fresh roll of Kodak Vision3 250D in Tetenal Colortec C-41 chemistry. In between I had seen a youtube video that showed a more efficient way of removing the remjet. And with this procedure I see no remaining of this famous layer in my scans (but probably ICE will compensate small black dots).
So what does it take to develop a Kodak Vision film at home? Here my latest process:
- Prepare the remjet remover. You find the original Kodak composition in the internet as follows for 1 Litre: Borax (Decahydrate) 20g, Sodium Sulfate (anhydrous) 100g, Sodium Hydroxide 1.0g.
- Fill the remjet remover at 30°C into the tank (dry film) inverse 1x and pour it back into the container after 30s (if you don’t shake or inverse the tank unnecessarily, the remjet remover comes out as clear as it has been filled into the tank before and can be reused for a very long time).
- Fill the development tank half with water at process temperatures and shake it well (like in a cocktail bar). Pour out the water and repeat this 2-3 times.
- Then begin the regular pre-watering (to bring the film to process temperature). My development kit indicates 5 minutes of pre washing and during this time I replaced the water maybe every minute.
- Then I did the regular C-41 development.
- At the end, before placing the film in the stabilizer at the very end, I removed the film from the development tank and wiped the layer side between my fingers in the sink filled with water. The water darkend a little, indicating that some remaining remjet is still being removed mechanically from the film. Replace the water and repeat this step until the water doesn’t darken anymore.
- Soak the film in the C-41 stabiliser and let it dry.
Finally it took me less than 5 minutes more to deal with the remjet.
C-41 vs ECN-2
I have no experience with ECN-2. My research about the differences was not that evident and I could not get fundamental information about the color agents used in both processes and if the so called cross development in C-41 results in different colours (if anybody has first hand experience with both processes’ results I welcome your feedback).
But one significant difference is of coure the contrast: ECN-2 is a low contrast development process for good reasons:
- Low contrast development gives more margin to high or overexposed zones (highlights in the night, sun on sunset scene, …)
- It lets more light pass across the negative for scanning or positive copying (Imagine copying some kilometres of movie film for at earlier times each cinema’s positive rolls). Less light means also less ageing on the film’s color and the entire film in general.
At the end from my point of understanding and experience it is a little like the difference between D-76 and D-96 for Kodak’s Double-X: Still and movie film development has a different target.
We still photographers spend minutes squeezing the best out of a single frame. Movie film photographers don’t have this luxury in time. I imagine it impossible to take the same scene three times with different exposures. So the film material must deliver reliable results if it is under- and overexposed.
Using the full latitude of a negative material means having ideal exposure and developing conditions for each picture.
With this understanding it is also clear why Kodak Vision3 250D becomes a Cinestill 400D and 500T becomes 800T: The higher contrast development generates higher densities and thus a brighter image.
During the next developments I will try to underdeveloped the 250D a tad as ost of the pictures, especially with higher contrast tend to have an overexposed histogram.
Well, the all being said or written I leave you now with a few of my first samples of Kodak Vision film stock; this experience chapter contains more text than pictures.
Leica Summilux-M 1:1.4/35mm (pre ASPH)
Some years ago I had the chance to purchase a 1987 copy of this lens in early 2018 for a no brainer price. A comparison with my 35mm Summicron (IV) showed that wide open and closed until f/4 the Lux was slightly sharper than the Cron. From f/5.6 on the Cron hold the edge. At critical inspection of the lens system I found aperture blade dust on on the lens surfaces next to the diaphragm and this dust accumulation was placed inside the diameter of the f/5.6 aperture opening. After a proper cleaning the Summilux war slightly sharper even at apertures below f/4.
When I was reducing my lens portfolio a and needed some money for the Summliux-M 1:1.4/35mm ASPH (FLE) I sold this lens for three reasons: 1m close focus range, series VII filters only useable in the hood and the very characteristic look at f/1.4. Then for some years I was OK with the excellent Lux ASPH (FLE) and the Cron (pre ASPH).
But two years ago I began to work more and more with the classical lenses like 50mm Summicorn (II) („rigid“), then bought a Noctilux-M 1:1.2/50 ASPH and realised that for my photography the 1.0m close focus limit is not a real limitation in most situations (for the few situations when 0.7m is a real plus I still keep some lenses in my portfolio that can then be used) and that the classical rendering pleases me again respectively was an creative element than can consciously be used creatively.
So some days before Christmas I had the chance to have a stop in Wetzlar and pick up my copy of the new Summilux-M 1:1.4/35 steel rim that is nearly the same optical formula than my 1987 Lux.
Why did I so? Well now the lens can use E46 filters as I use them on most of my current Leica lenses and is 6-bit coded. And regarding the second hand prices of the older Luxes I found the new price tag is a good choice considering a brand new (crystal clear) lens with 6-bit coding (which is or was some years ago not available for the old 35mm Luxes) coming with 2-3 years warranty.
The last reason was that I now use mostly silver lenses on my chrome bodies… So far the rational reasons of decision for Leica owners ;-) This is what makes the brand so special.
But well, now you may ask where are the experiences as this site is about sharing my experiences? You are totally right.
From my first months of experience I see that the image quality and the rendering is - for my eyes - practically the same between the old and new 35mm Summilux-M.
From f/2 on sharp (sharper than my clean Cron from the same époque, at that time I even considered edge sharpness; but I accept that there are people with different experiences out there because I realised that lenses before around year 2000 have some kind of bigger variation of optical performance between different copies of the same model).
At f/1.4 the lens has the aforementioned character of a completely different lens with the typical softness, coma and bunch of aberrations. When I initially bought this lens I was not yet ready to use and appreciate this characteristic look.
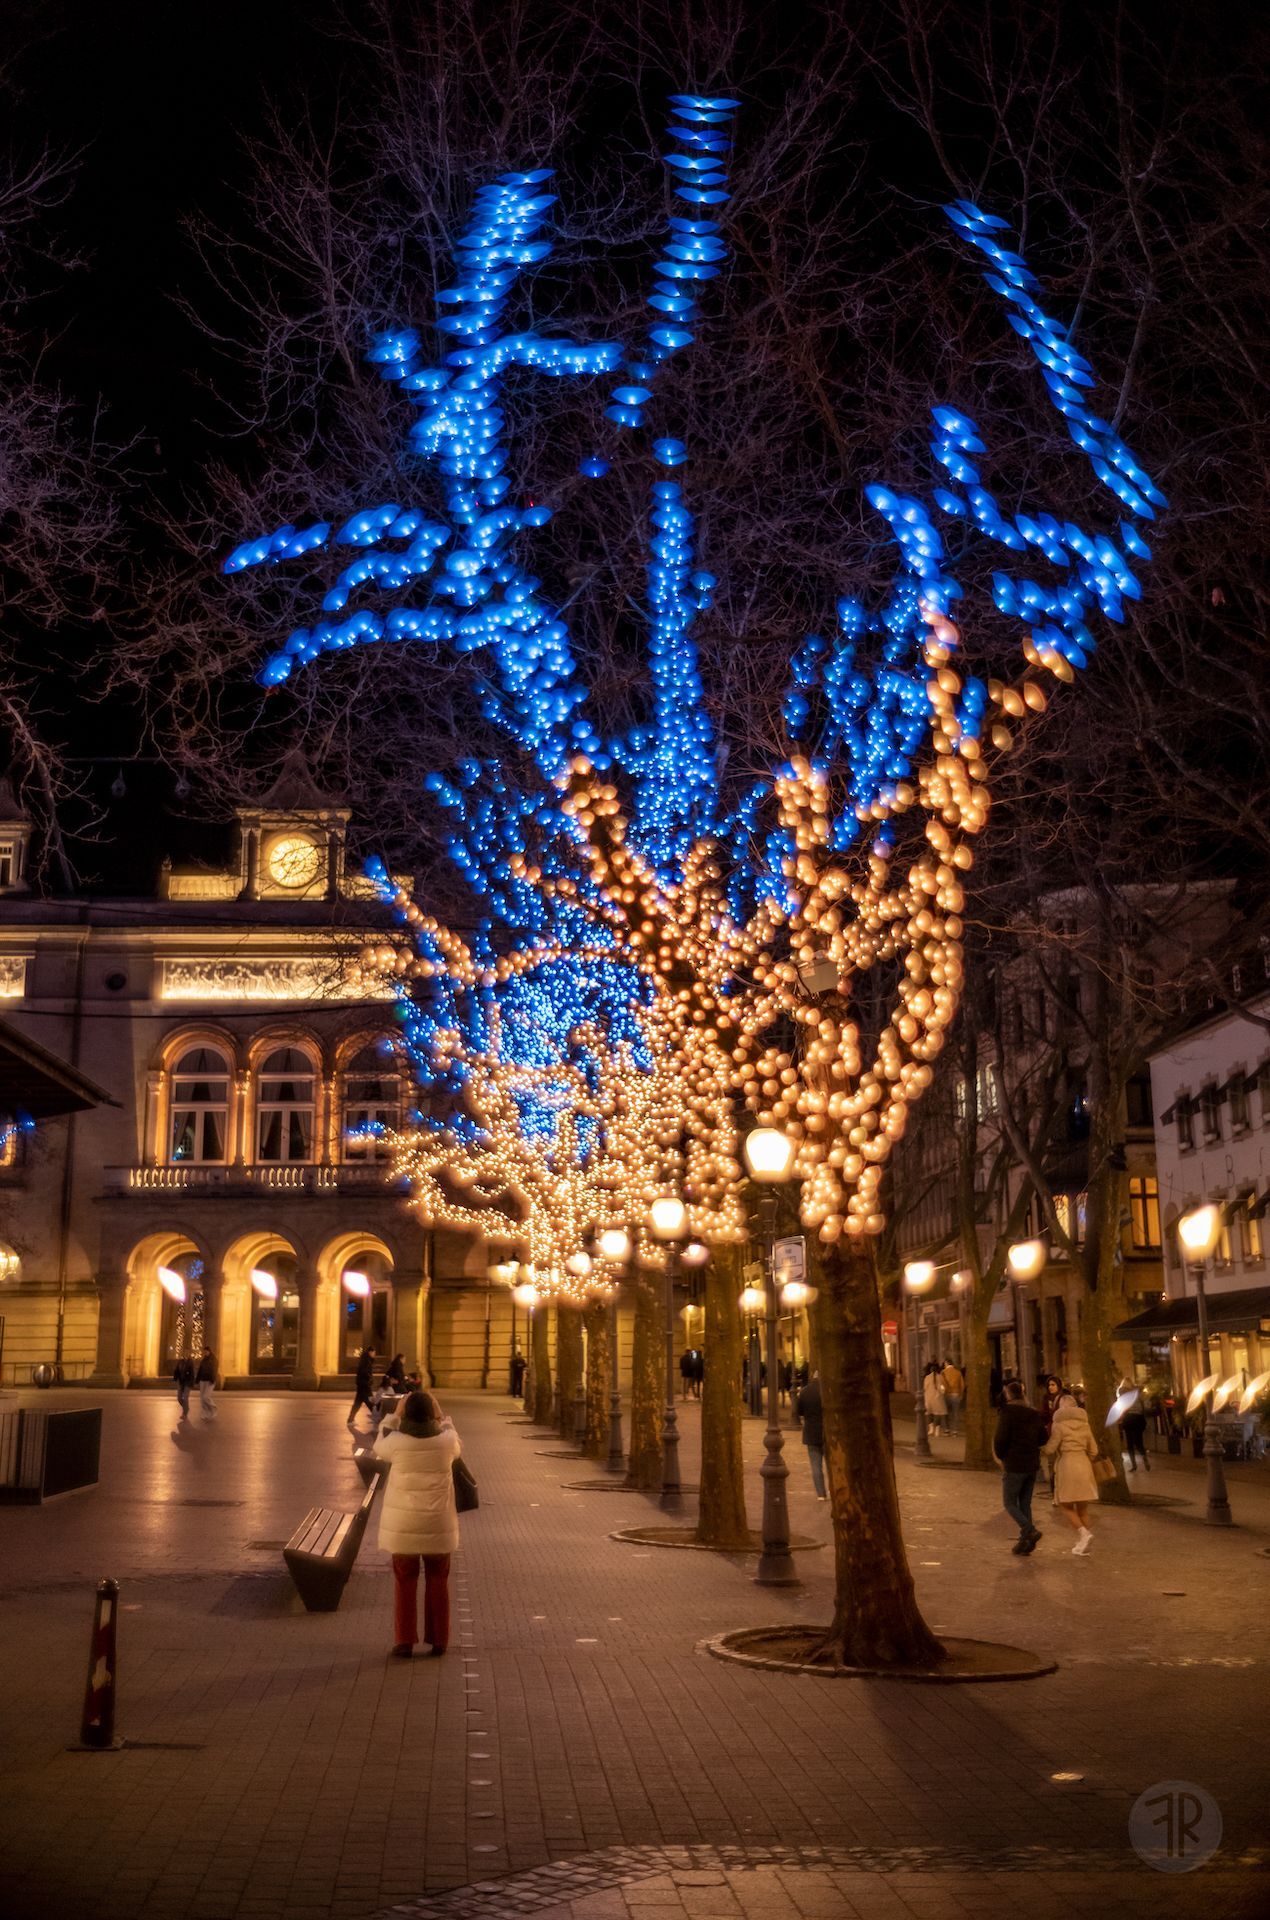
See the picture with the illuminated tree in the night: The coma with the "butterflies" on the top edge of the picture is probably one of the main signatures of this lens shot wide open.
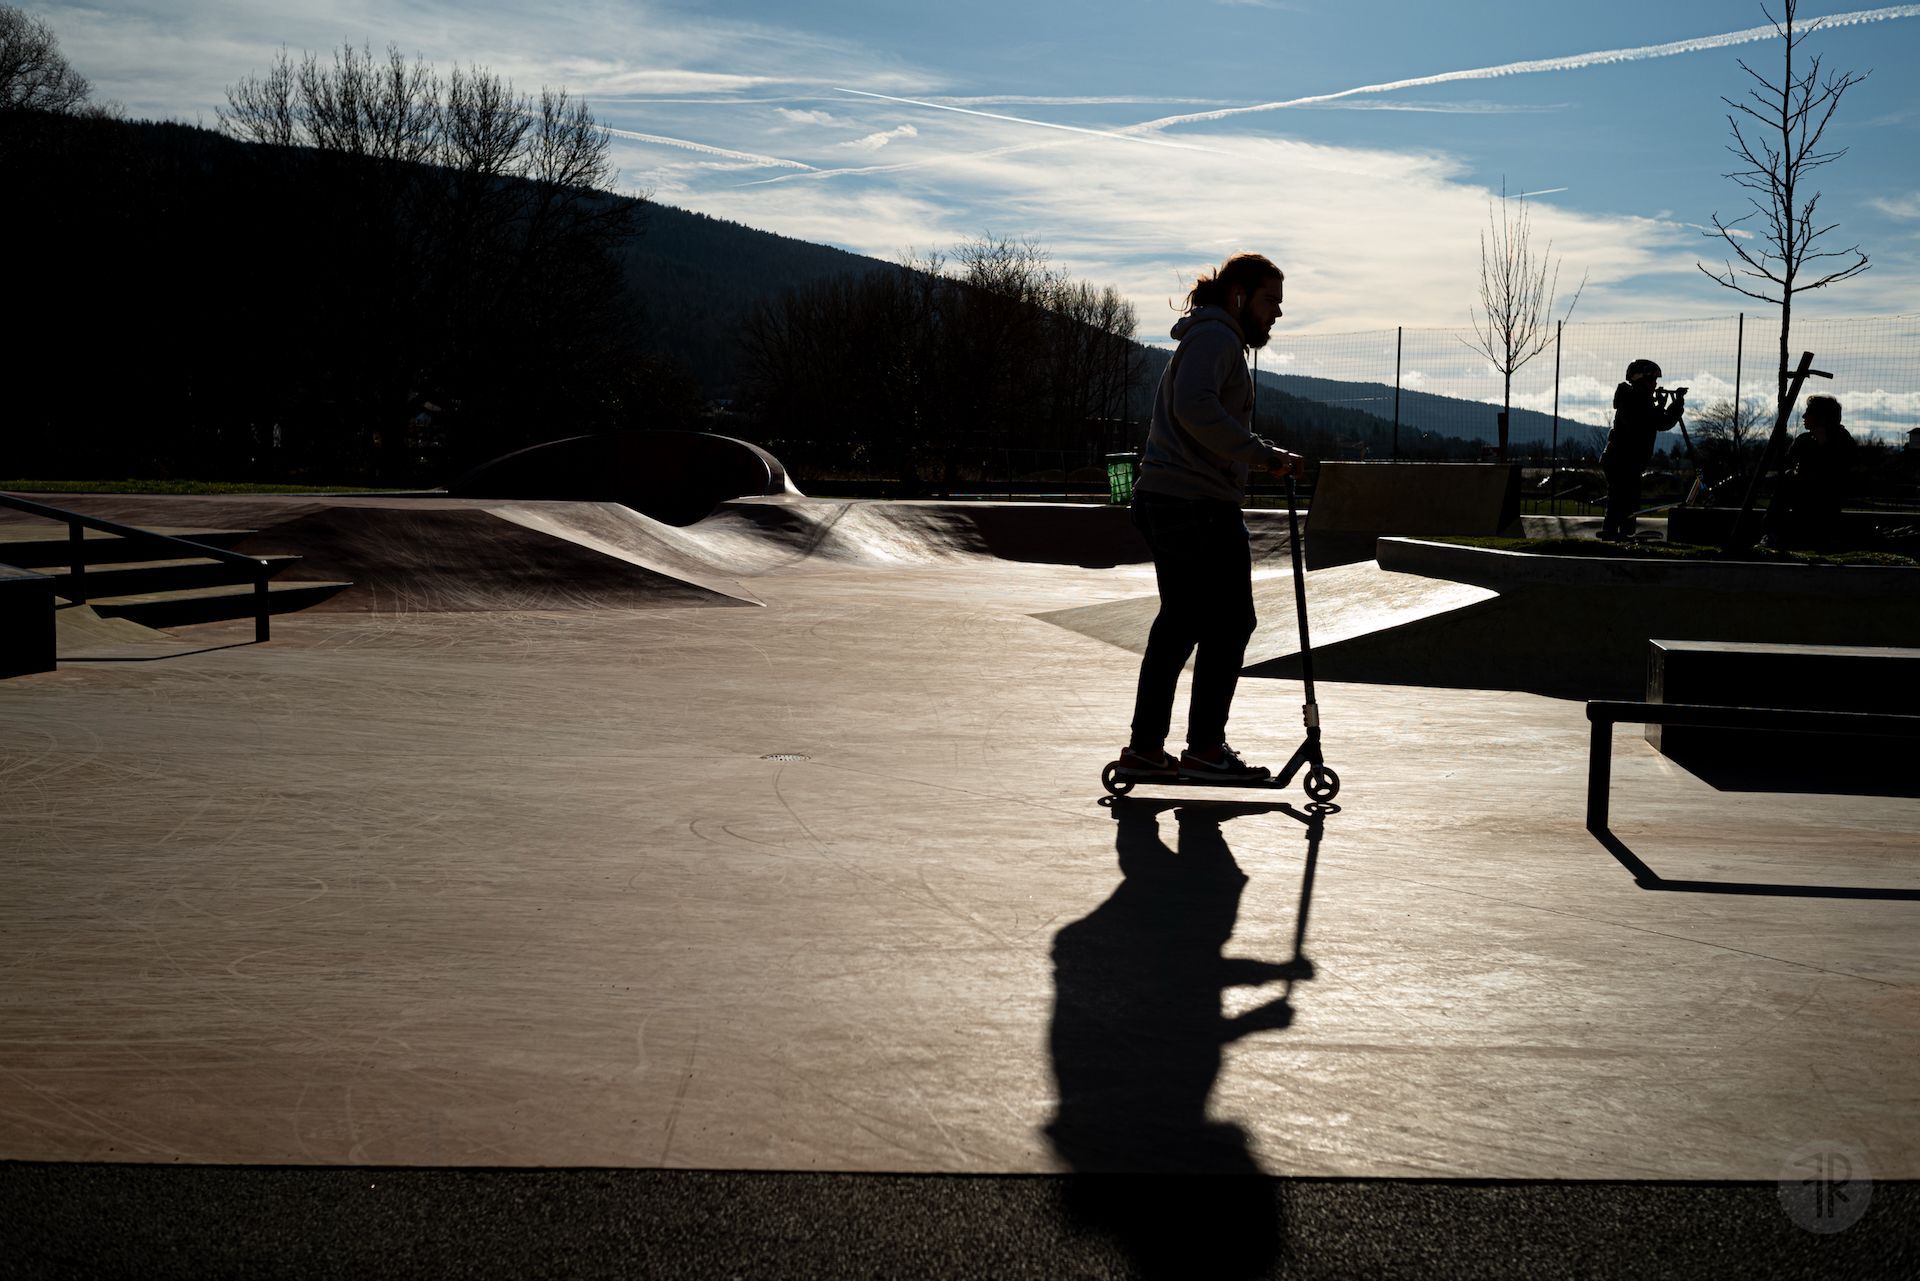
Shot against the sun at this aperture, a well amount of flare and halos can be stated (see first picture of the second gallery).
Stopped down, flare and halos are not gone but not dominating for my taste.
The size of this is lens is incredibly small. A perfect lens if you take your camera with you everyday. The 35mm focal length is for me with the 24MP of the M10 a good all-round focal length.
The general picture quality of this lens is in my opinion very good. I took many landscape pictures in Norway in October 2019.
Flare can be used as creative element in contre-jour situations to bring the sunshine it the picture. The shot wide open the lens generates a very pleasing bokeh.
It is a good allrounder that I can use for portraiture, landscape and everything in between.
Voigtländer Nokton VM 1:1.5/75 aspherical
In summer 2021 I have bought this lens to give it a try as lightweight travel lens. Since some time I wanted to try to go on holiday with 35 and 75mm only in order to have a simple lightweight outfit. In 2021 I was ready: 75mm Voigtländer Nokton and 35mm Leica Summarit.
I quickly fell under the charme of this lens. It is compact, extremely light weight and performs very good. As I usually practice photography as a by-product of my life I prefer a focal length that can cope with various situations. For this reason 90mm was often too long as general purpose when going out. The 75mm focal length is a good compromise. I can step back in order to get close to the 50mm frame and when cropping from a 24MP picture, the 90mm frame can be used without problem.
So far, if you want to travel light, 35 + 75mm is a very good option to consider.
But now about this lens:
The build quality is excellent. Handling is fine, everything as it should be.
Only the small knurled screw on the hood is a little bit embarrassing some times. But of couse one cannot expect a vented screw in lens hood always at the right position (like e.g. 35mm Summilux-M ASPH FLE) for the lens’ price. Maybe the use of the hood is even not required for most light situations but did not try it as I usually use the hood as protective device for the lens front element.
The image quality fully open fulfils my expectations very very well. The Bokeh is excellent.
I have taken lots of portraits (which i usually do not publish here) and of course the shallow depth of field makes the lens a real portrait lens. But also outside, when taking pictures in the street at f 1.5 (using a ND filter) you can get a good separation of the main subject from the background at distances of several meters (see photo "Fisherman").
Stopping down this lens becomes sharp enough to crop a 135mm frame (at least on my M9 and M10) for normal purposes.
After 9 months with this lens I can declare it as a real keeper.
It is well worth its price and probably as small and as light as a 75mm f/1.5 lens can even be.
Kodak Double-X (Eastman 5222)
I think it was in early 2019 when I was getting really interested in Kodak's Double-X. For those who heave never heard about this film: It is an old emulsion that dates back to the 1960's and is usually used for movie films. Until today it is listed in Kodak's movie film catalogue and regular available in 400ft and 1000ft rolls for 35mm format. Other formats are available, too.
After thinking a while how to re-orient my photographic activities I decided to follow a simple principle: Colour = digital and BW = film photography. The I began to finish or sell my stock of different BW films as I want(ed) to force myself to work only with Kodak Double-X for the next few years. The best way to get experienced with a film emulsion is to use it under any conditions.
Once the deep freezer got low on films I ordered finally a 400ft roll (cut in 4x 100ft sections to fit my bulk film loader).
And now, one and a half years later I am at the point to order another roll. This film gives me vers pleasing results.
The film is different from other films (before I used mostly Tri-X and Adox Silvermax). I would nit say better or worse but different. After testing development with Rodinal (one of my favorite developers as very economic and efficient) I git stuck with Kodak D-76 1+1. This gives me a pleasant fine grain between ISO 125 and ISO 500 and also good results with ISO 1250.
I have asked myself the question WHY this emulsion is different from others and found one answer in the light sensitivity curves:
Compared with Tri-X, 5222 has a higher sensitivity in the blue spectrum while green and red seems practically indentical.
Compared with Silvermax 100, 5222 lacks the peak in the green spectrum which is at Silvermax 100 as high as in the blue spectrum. Btw: The Silvermax 100 sensitivity curve seems to match very exactly with the original Agfapan APX 100 senstivity curve.
I imagine that this particular sensibilisation has its origins in the warmer spectrum of artificial (tungsten) lighting which causes a certain "discrimination" of blue surfaces. The higher blue sensitivity might compensate partly the warmer light from tungsten lamps.
These ideas match with my observation that it seems more difficult to obtain dark skies with the use of yellow or orange filters.
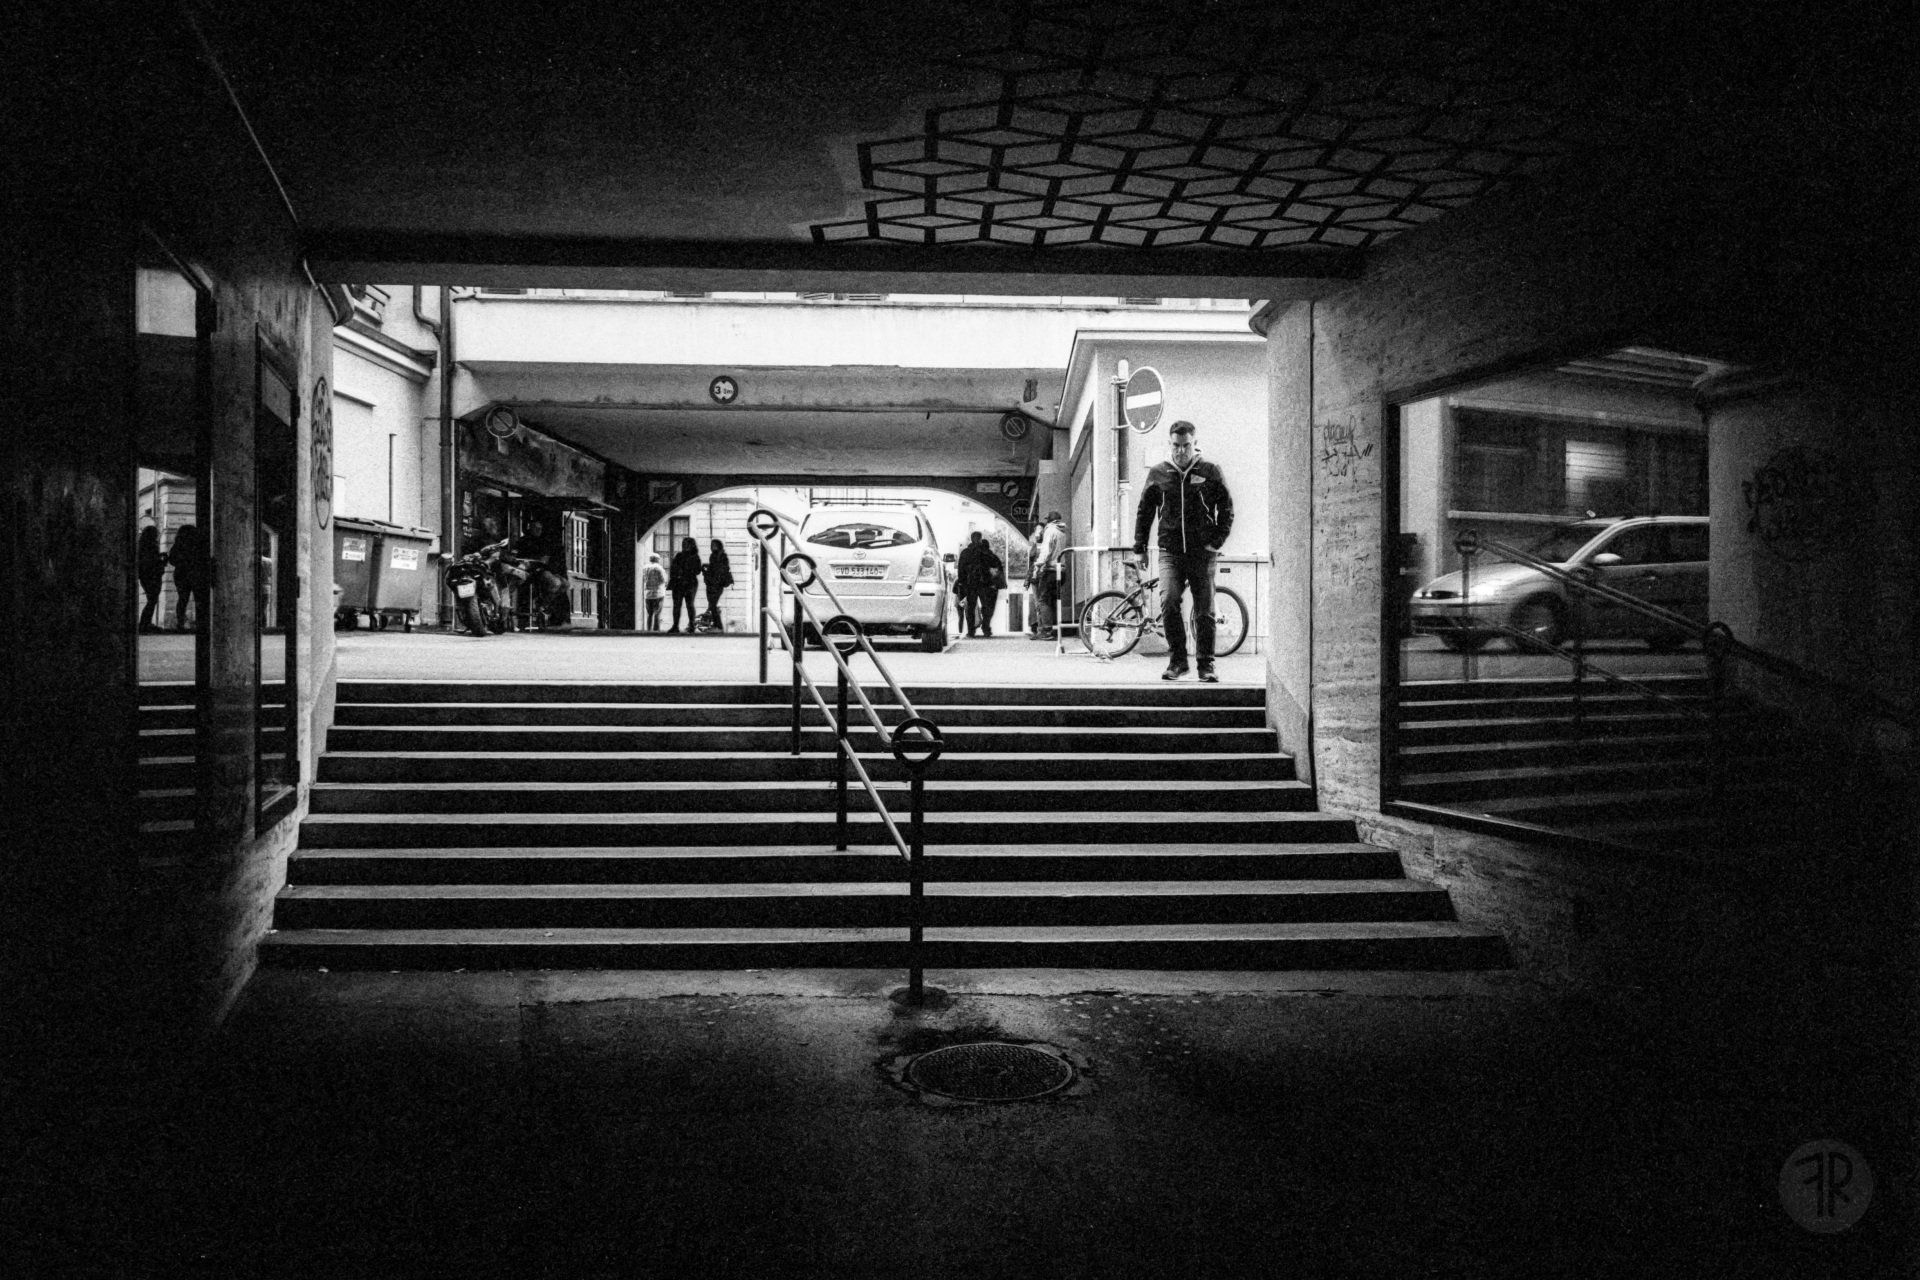
But now some pictures, as a picture says more than 1000 words. "Vevey street" has been shot at ISO 1000. The others have been shot at ISO 125-250. See also my gallery
Live Concert, taken with 5222.
Leica Noctilux 50mm/f1.2 ASPH (2021)
My latest acquisition is this new lens from Leica's Classic line, a remake of the the nearly legendary original Noctilux that has been sold between 1966 and 1975 until the arrival of the newer and faster Noctilux f1.0.
After keeping my eyes open during several years for a second hand copy of the newer 1:1.0 version for a "reasonable" price (whatever this means in the Leica universe) - and without finding one - I had the chance to buy thus lens in April 2021.
Why did I chose this in its way special lens that is not as performant as its successor at even higher price as not second hand lenses are available on the market?
Well I like the idea of a characteristic rendering with less sharpness than today's high performance lenses as I usually work with the optical rangefinder. Furthermore the size is more acceptable for an everyday lens than the other Noctilux versions. And it fits well on my black Leica MP.
The disadvantages of the 1 meter close focus limit and probably less sharp rendering made me keep my aspherical Summilux 50mm.
After 3 weeks of testing this lens (not intensive testing, as I was quite busy; but by this way I tried it in everyday situations) I begin to love it.
Of course until now I shot it mostly wide open as stopping down does not pronounce the charter of the lens. Using an ND 0.9 filter allows me to use f1.2 in bright daylight situation.
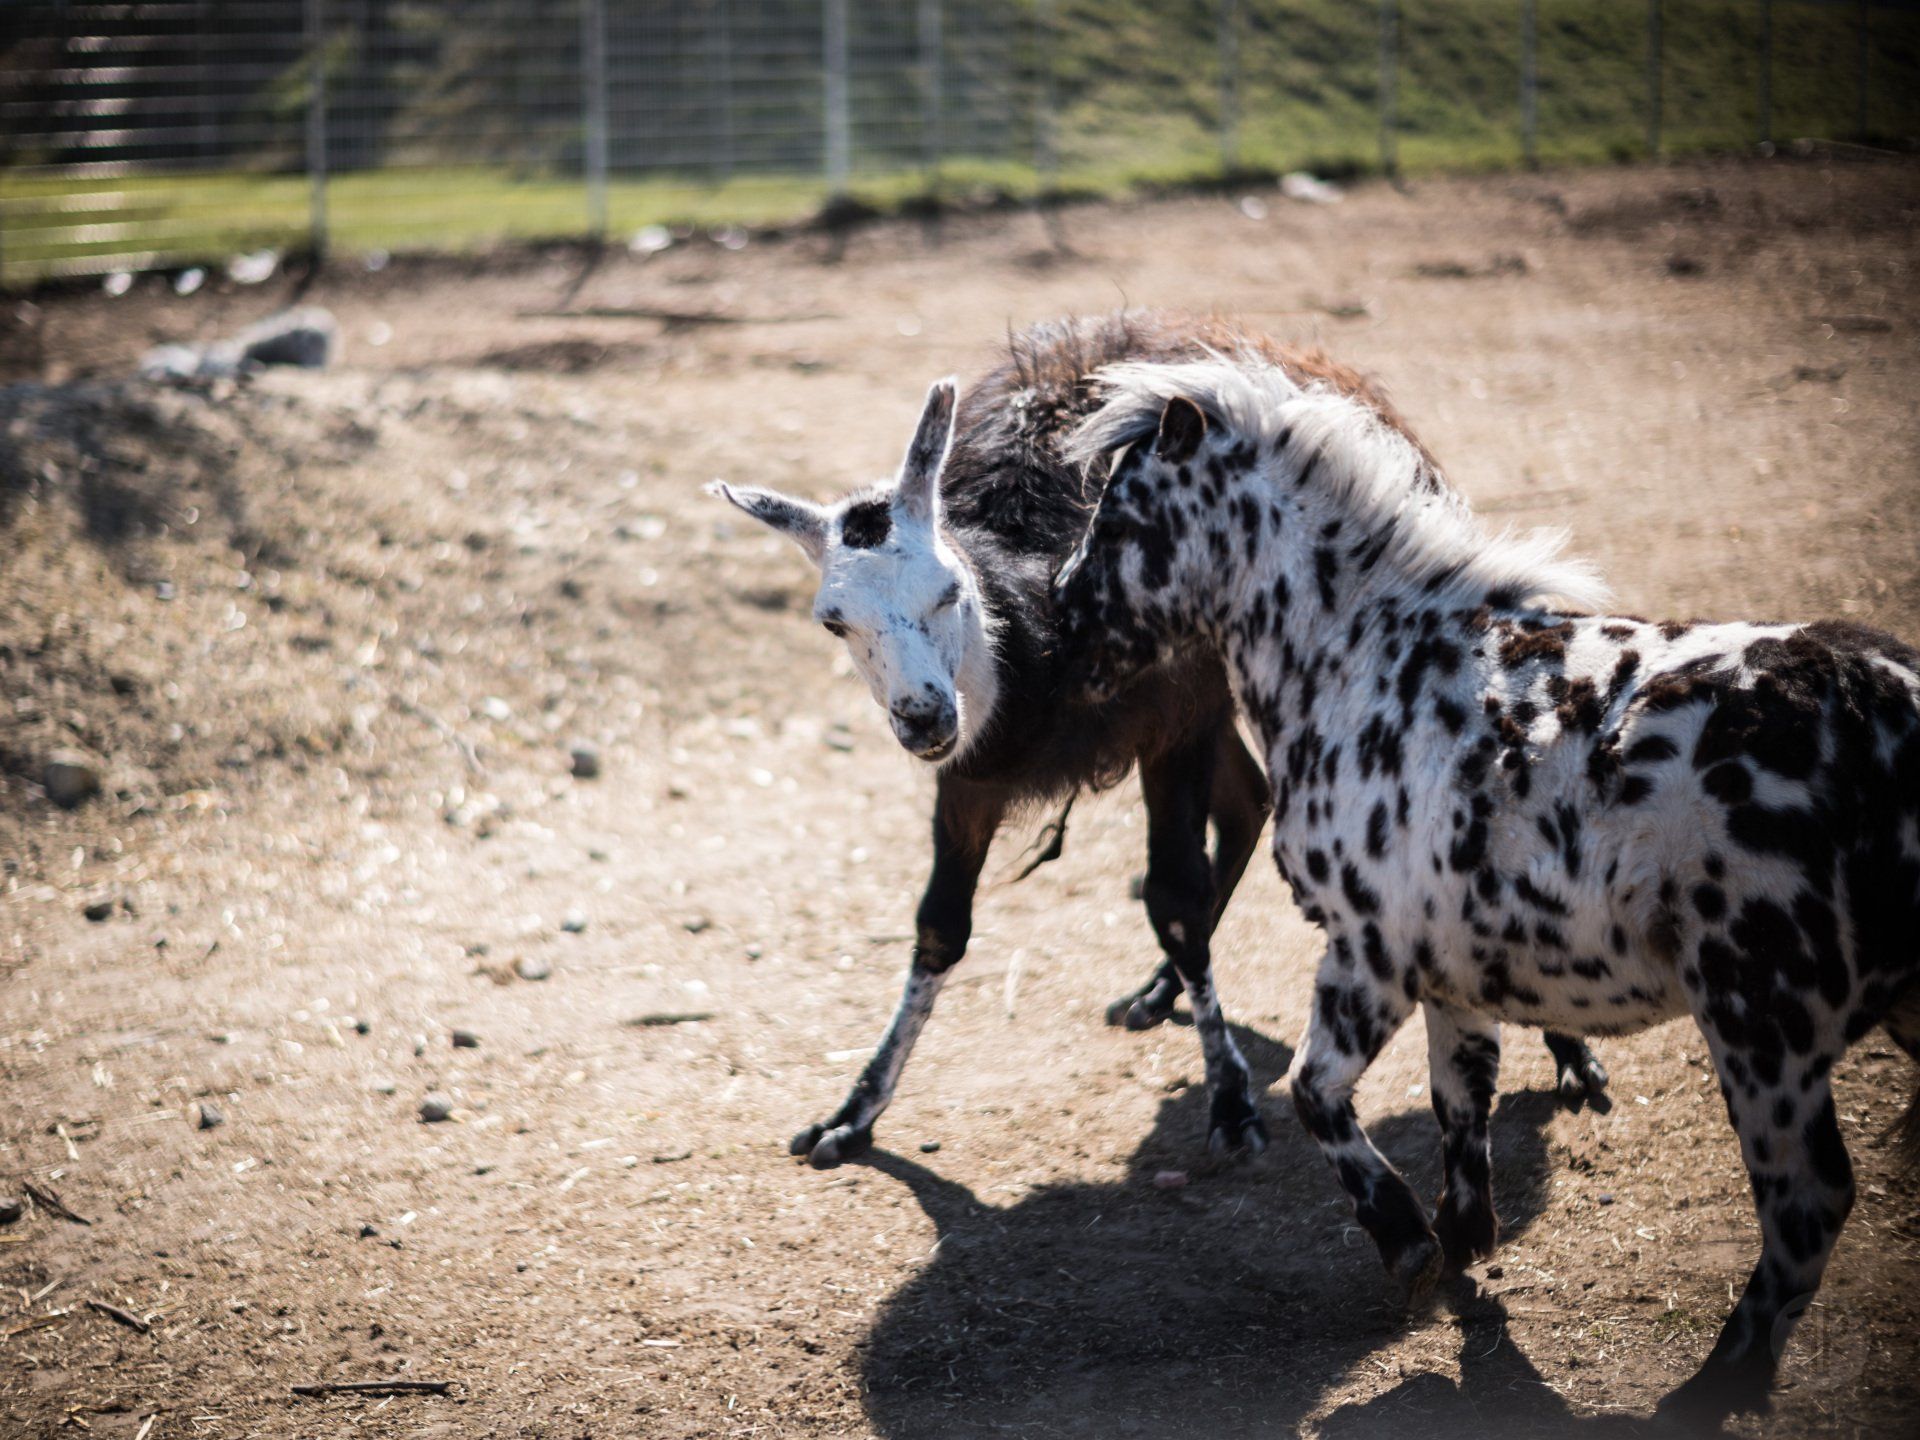
How would I describe this lens today? Fully open with a lot of character, but usable picture quality also in the corners (see picture "Tree" entire full frame). At f1.2 it has this soft blooming effect that I know from the Summilux-M 35/f1.4 (pre ASPH) at f1.4 or also the old Summarit 50/f1.5. But less pronounced so that pictures without too high edge contrast are quite harmonic. The bokeh is a bit kind of swirly (which remains also the case while stopping down as you can see in the picture "Quarreling") and very pleasant: characteristic but not too flashy; if I want the technical perfect and super soft bokeh I chose my Summilux-M 50/f1.4 ASPH.
The focus throw is quite long and forces the user to take time for proper focussing. Until now I dod not encounter issues of manual focusing. Using a 1.25x magnifier I can focus accurately. The EVF has not been used until now.
I think this will become my always-on 50mm lens for general purpose photography.
But now, finally, some exemplary pictures. As it is about giving an idea of the lens signature I did not chose gallery pictures here.
After nearly 3 months: I will definitely keep this lens. It is very versatile lens which can be used on rangefinder for manual focussing without issues, especially when using a 1.25x magnifier. I really like the rendering when shooting in the forest (the shallow DOF combined with its characteristic bokeh makes it my preferred lens for tree shots). Portraits are of course the perfect field of application for this lens (sorry, I have no portraits with model release available for the moment).
Already stopping down to 1.4 increases sharpness and at f/5.6 it is, for my taste, image quality is decent and suitable for every-day use.
Conclusion: I hope that this lens will find the attention that it deserves. In my opinion Leica has made the right decision to re-issue this lens with the improved manufacturing methods of today (and probably higher and more consistent IQ than the original from the 60's).
There was s light bitter aftertaste that I have digested in between: When I purchased this lens the lens hood did not fit tight enough on the lens. Although snapping in as it should be the hood could be removed without pushing the release tabs and so it happened that I have lost it one day as I wear my camera mostly in the side. A passing person must have released the hood from my lens.
It took 3 months until Leica provided me a replacement hood - with the same issue. 8-9 months after purchase the lens was repaired by replacing the front metal element that has the groove in which snaps the lens hood.
Leica Summaron 2.8 cm / f5.6 (1957)
I have purchased this litte gem of a lens in 2018. After a little cleaning of the lens surfaces around the aperture I understood why this lens has been reissued by Leica more than 60 years later. I still discover this small pancake lens. You find some pictures in the following gallery.
The picture "Sunlight" shows an impressive performance. The first 5 pictures were taken without lens hood (as it took some time to find the original one for a moderate price).
The last picture "Les Hippocampes de Vevey" shows a typical swirl of light in the center that I have observed now in several pictures. I try now to provoke it consciously as a creative element.
Leica Summicron 90mm / f2.0 (1960)
This is another old glass jewel that I have purchased in 2020. After several attempts I finally got one with the focus on spot.
The glass is in perfect condition while the mount is a real used one. I love this lens and at f/2 it is for me the "budget-Noctilux".
The Pictures "Sunset 1" and "Sunset 2" were some of the first ones that I made with this lens. Taken with a digital M body I could correct some of the chromatic aberrations. On the other hand n film it would have probably not mattered at all.
This lens performs very well and gives a very shallow depth of field but as it is not as sharp as today's APO's it is a little less challenging. I made all those pictures with the optical view finder on my M9, using my viewfinder magnifier 1.25x (the 1.4x would be even better for the 75mm and 90mm focal length).
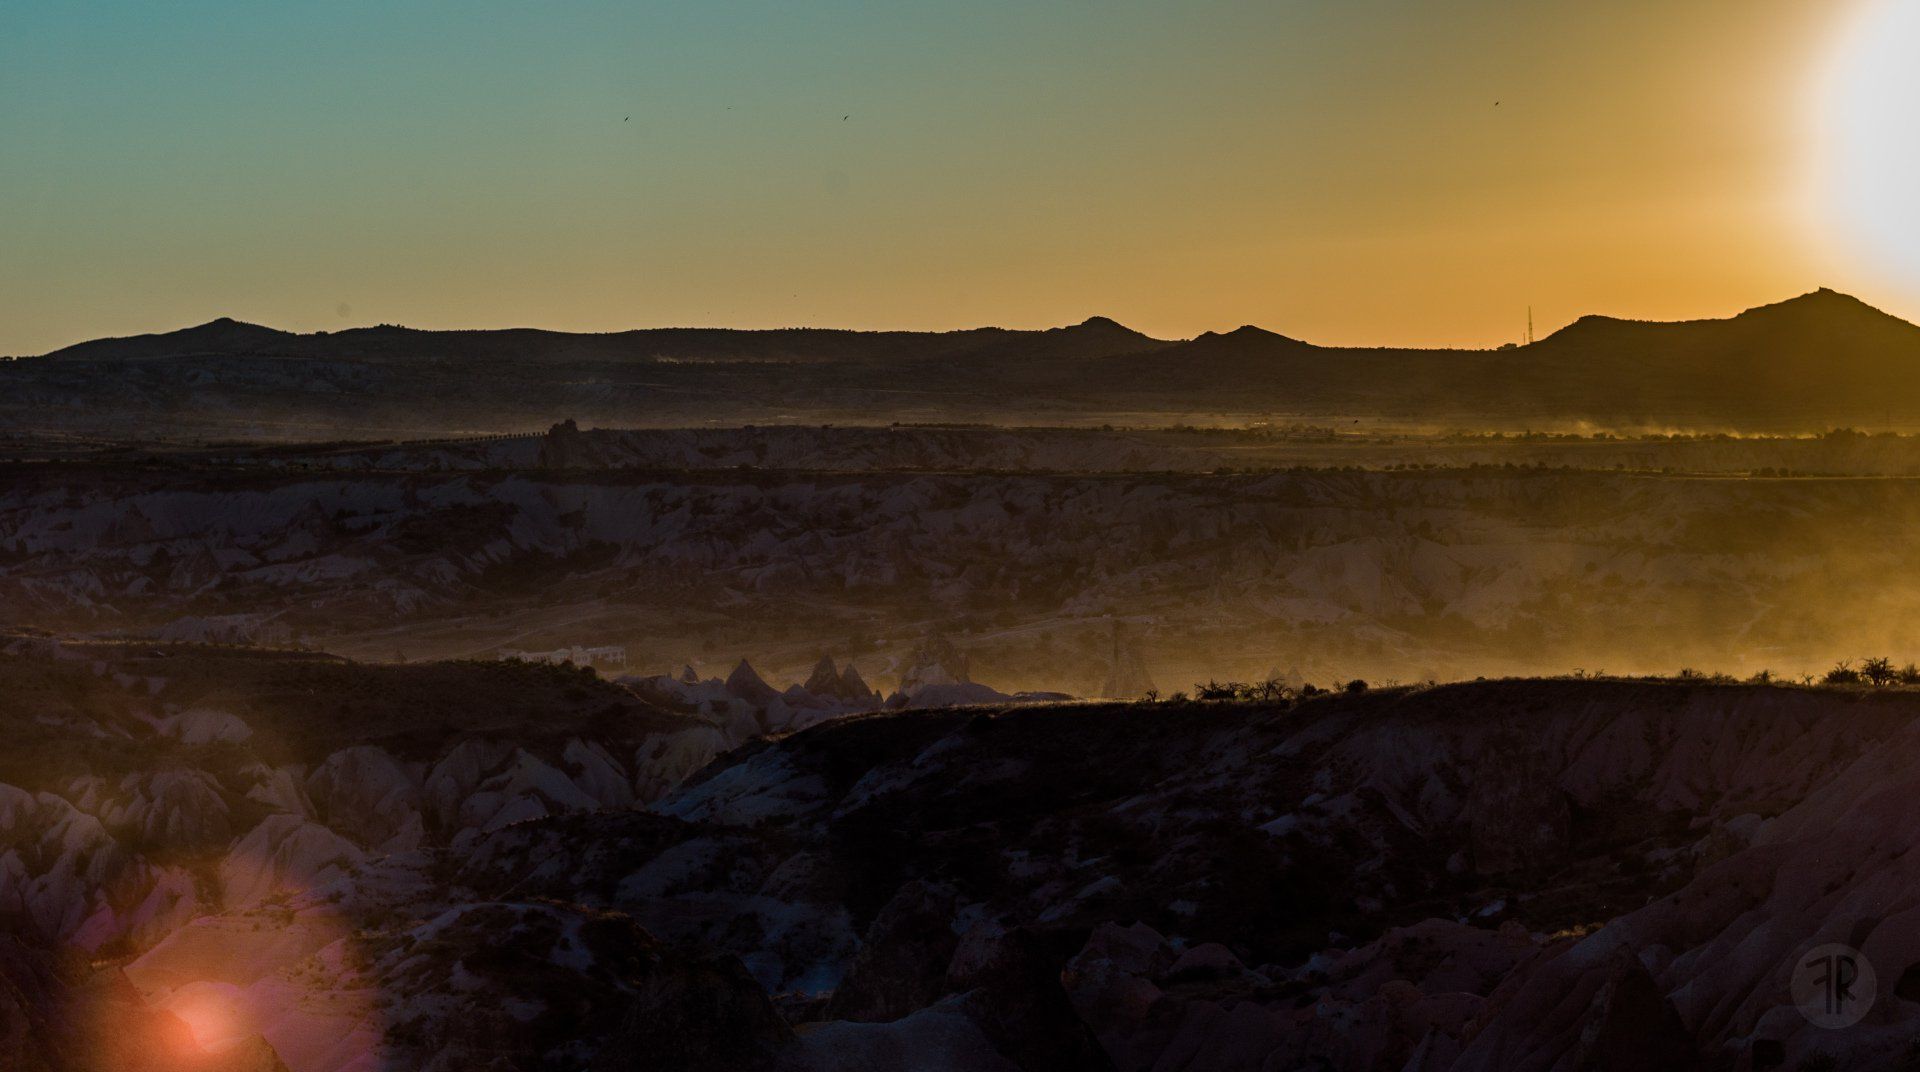
"Sunset Valley 2" is a crop of one picture taken with this lens against the sunset and hat to be post processed quite more seriously to get this picture out of the raw file.
Coming soon
- ...
